Patching the vCenter 6.x Appliance
August 17, 2015 Leave a comment
With the latest version of the vCenter Appliance (vCSA) there is a new process to patching the appliance. Gone is the old Web UI of the 5.x era. The new process isn’t anything to be scared about though and should be familiar to most Admins and techs. Instead of the old web interface the upgrade process is basically just to attach the patch ISO and run a few commands via the console or SSH.
While researching the proces to update my own server however I came across a few unclear instructions concerning the process. I worked out what I needed to do after a few searches and a couple KB’s. Most of this guide will be a rehash of others and the official instructions but I will be including a few clarifications as well as some visual representations of the process to help those that got a little confused by the regular instructions.
At the time of publishing the available patches are:
- VMware-vCenter-Server-Appliance-6.0.0.5120-2800573-patch-TP
- The NTP package is updated to version NTP 4.2.4p8 to address multiple security issues. NTP 4.2.4p8 patch is applicable for vCenter Server Appliance.
- VMware-vCenter-Server-Appliance-6.0.0.5120-2800573-patch-FP
- Patch for VMware vCenter Server Appliance 6.0 with bug fixes and security fixes.
The number of patches will vary but at this time I will be performing the patch for both the TP and FP with release dates of July 07, 2015.
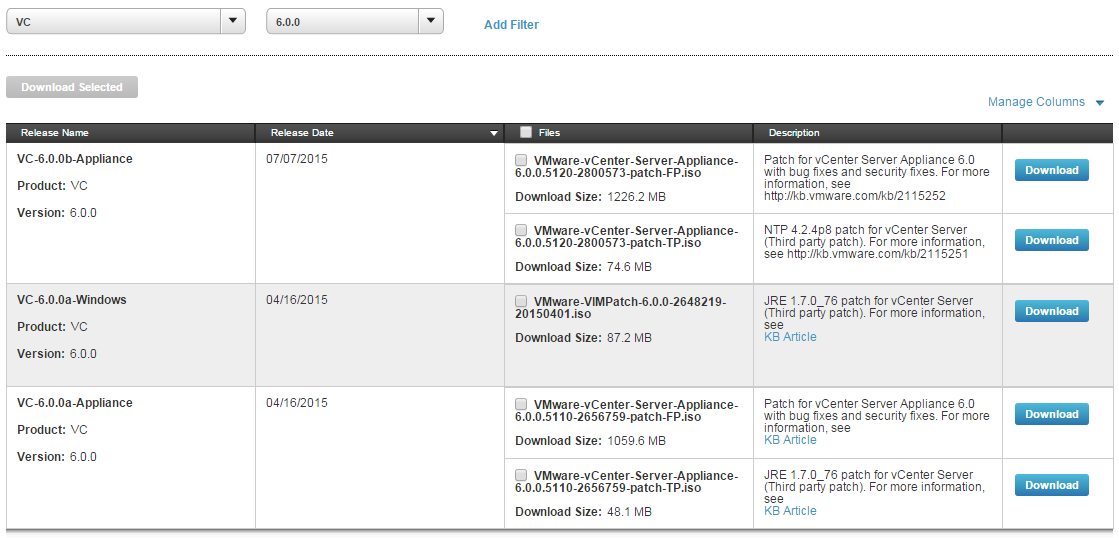
First step is to download the latest patches from the My VMware patch page. Once you have the files download, upload them to a datastore and make note of the location. Now you’ll want to connect via SSH to the vCenter Appliance with your favorite client, such as Putty. Accept the certificate if you are prompted and log in. Once you are connected you will get the console.
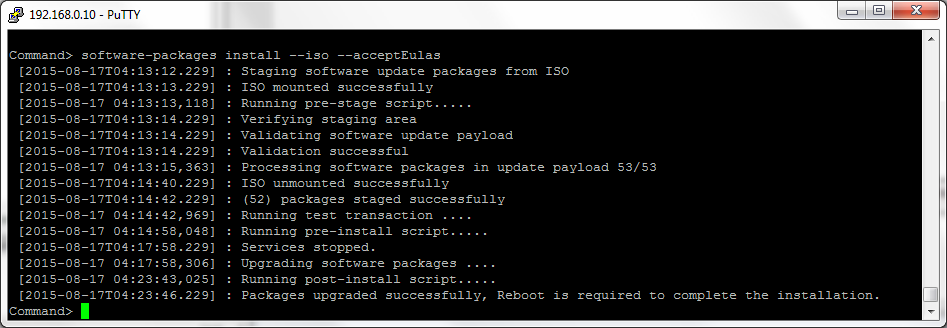
Enter
software-packages install --iso --acceptEulas
and hit enter and wait for the process to complete. If you have another patch to apply then go back into the C#/WebUI client and load the next ISO and repeat the process again.
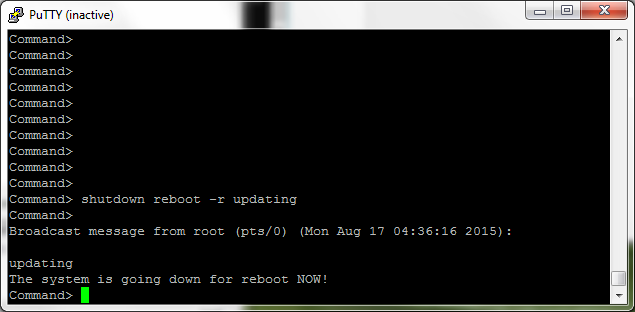
Once all patches have been applied type in
shutdown reboot -r <reason>
and hit enter. It can take up to 15 minutes or more depending on your system to reboot and be fully available.
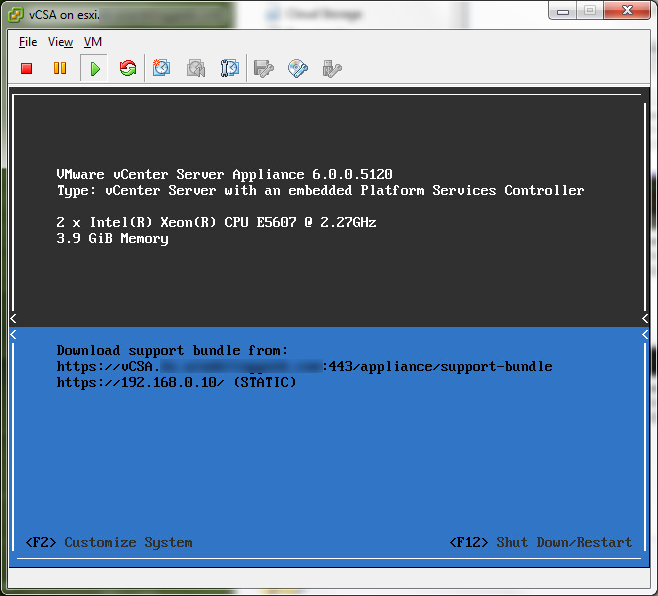
Once the vCSA is running it will be updated to the patched version.